Viore LED19VH65D Manuel d'utilisateur
Naviguer en ligne ou télécharger Manuel d'utilisateur pour Télévisions Viore LED19VH65D. VIORE LED19VH65D User Manual Manuel d'utilisatio
- Page / 36
- Table des matières
- DEPANNAGE
- MARQUE LIVRES
- LED19VH65D 1
- Contents 3
- Safety Information 5
- Unit and Accessories 6
- Product Feature 6
- Introduction 7
- 3. Remote Control 9
- DVD play list/Disc menu 10
- Connection 11
- Y Pb Pr 12
- 1920 x 1080, 60Hz 13
- Basic Operation 14
- OSD Menu 16
- Closed Caption 19
- PC SETUP 19
- DVD basic operation 23
- Additional operation 24
- Using the Display Feature 25
- Using the Search Feature 25
- Subtitles 26
- Mute the Audio Output 26
- Zoom In the Video Image 26
- Digital Audio Disc 26
- DVD System Setup 27
- Disc Care 29
- Simple Troubleshooting 30
- INSTRUCTION FOR WALL MOUNT 32
Résumé du contenu
19" LED Backlight LCD Televisionwith Bulit-in DVD PlayerLED19VH65D19
8IntroductionInstalling Batteries1. Open the battery compartment cover on the back of the remote control.2. Insert two 1.5V AAA size batteries observi
Service9ConnectionConnectionAntenna (RF) ConnectionPower Cord ConnectionRFCoaxial (Round) Antenna CablePress INPUT button on the remote control to dis
10ConnectionAV Input ConnectionNote: All cables shown are not included with the TV.- Connect the VIDEO and AUDIO output jacks on the DVD or VCR to the
11ConnectionHDMI ConnectionPC ConnectionNote: All cables shown are not included with the TV.Note: All cables shown are not included with the TV.DVD or
12Basic OperationBasic OperationPower on/off1. Connect to the power with a mains cable and an adaptor (page9).2.-To turn on the TV Press POWER butt
13Basic OperationBasic OSD Menu operationMain menuPicture, Audio, Time, Setup, Lock, ChannelSubmenu(Picture menu for example)Hintyou should operate th
14OSD MenuOSD Menu1. Picture menuPicture mode: Select between Standard, Dynamic, Mild, Sports and User.You may select the picture mode directly by pre
152. Audio menuDescriptionOSD MenuSound Mode: Select your desired picture mode as follow: Flat, Music, Movie, Sports and User You may select the sound
16OSD Menu3. Time menuDescriptionSleep timer: You may set the automatic shutdown timer choosing from 5 to 240 minutes, or deactivate this function.Tim
17OSD Menu4. Setup menuMenu Language: Select OSD menu language.Transparency: Turn on or off the transparency menu function.Zoom Mode: Select the zoom
185. Lock menuOSD Menu<RXPXVWHQWHUWKHSDVVZRUGWRJDLQDFFHVVWRWKH/RFNPHQX7KHGHIDXOWSDVVZRUGLV<RXPD\PRGLI\WKHIROORZLQJRS
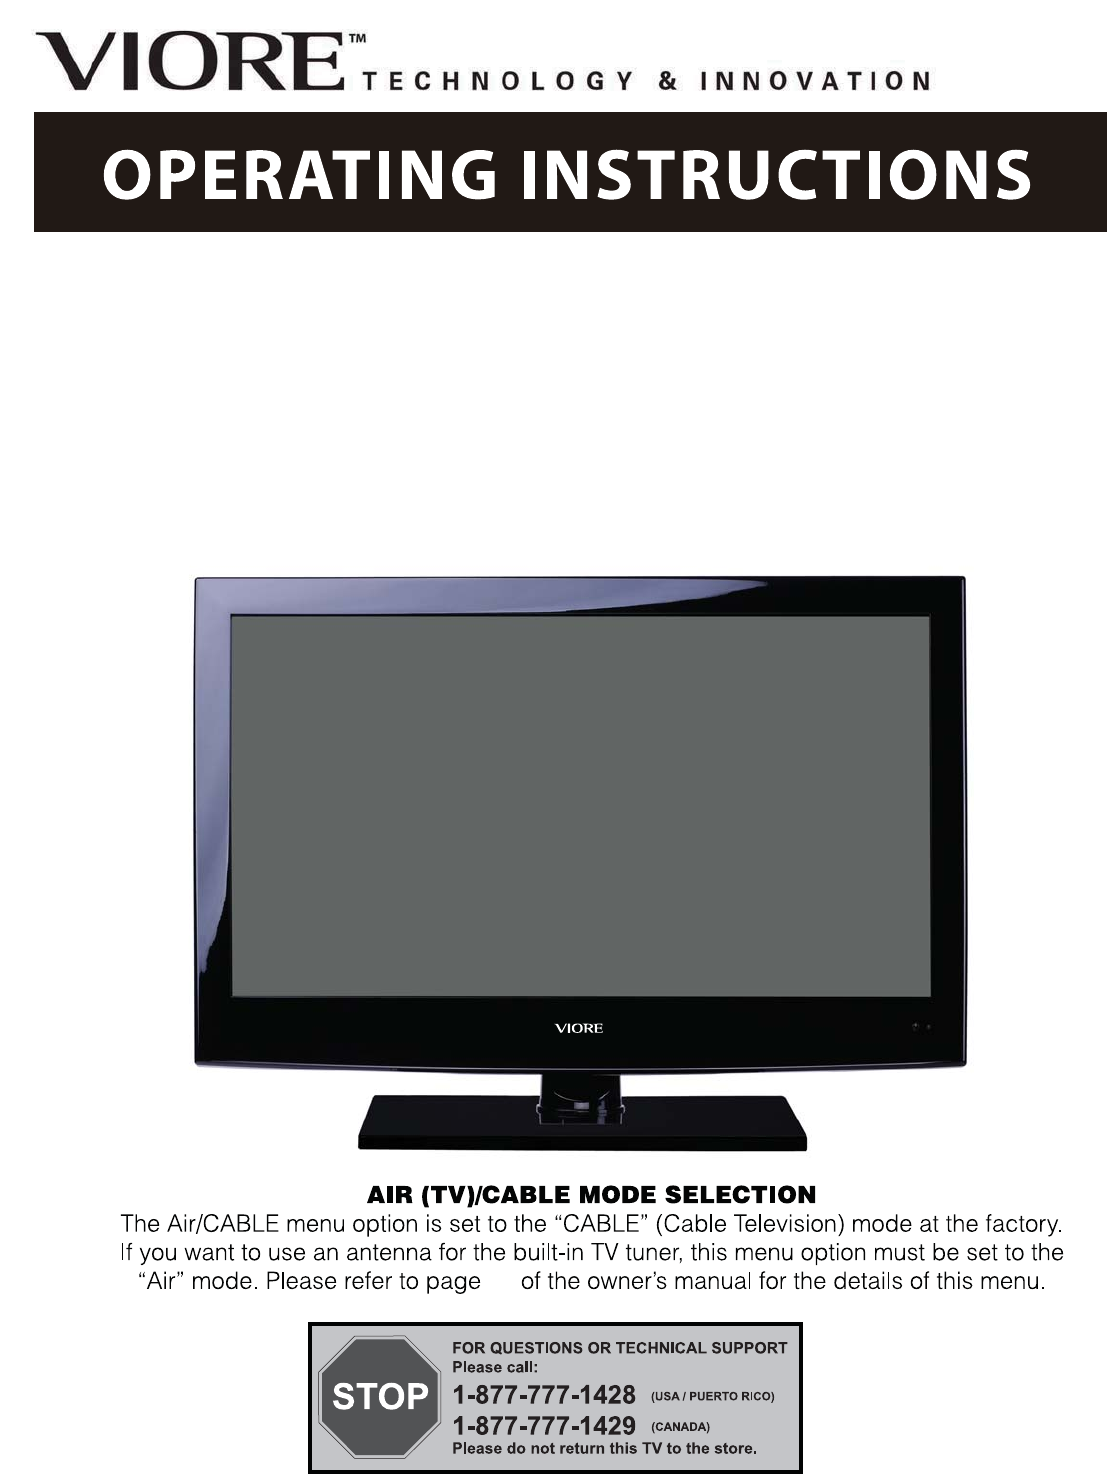
196. Channel menuOSD MenuAir/Cable: Allow you to select antenna between Air and Cable. If you selet “Cable”, the following items(Favorite, Show/
20OSD MenuShow/Hide:$OORZ\RXWRVKRZRUKLGHWKHFKDQQHOV8VHĤ0ĥEXWWRQWRKLJKOLJKWWKHGHVLUHGLWHPWKHQSUHVVOKEXWWRQWRVKRZRUKLGHW
21DVD OperationsPress the Power button on the TV or the remote control, then press the INPUT button to select DVD mode. Place a discInsert a disc with
22DVD Operations4. According to the Direction Indicator on the menu, you can press Arrow buttons to highlight where you want to enter.5. During Pr
23DVD Operations2. While a disc is playing, press Repeat button once and the repeat banner appears to show current repeat mode.a) In CD, HD-CD, WM
24DVD OperationsSubtitles1. Compatible with DVD discs.2. Press the Subtitle button on the remote once, and the subtitle info banner appears3. When a D
25DVD OperationsDVD System Setupchange them again.General Steps of Setup Menu1. Pause or Stop the player. Press SETUP on the remote control. The main
26DVD Operations"0000". Using the Ĥ!0!ĥbutton, move the highlight to "PASSWORD", press!?!the button and enter "0000". Yo
27DVD OperationsDisc CareAbout Disc TermsTitleGenerally, pictures or music compressed on a DVD are divided into several sections, "title".Ch
1ContentsContentsCautionSafety InformationUnit and AccessoriesProduct FeatureIntroduction 1. Front View 2. Rear View 3. Remote ControlConnection
28Simple TroubleshootingSimple TroubleshootingIf the display fails or performance dramatically deteriorates check the Display in accordance with the f
29LCD PanelInput ConnectorOutput ConnectorPower SourcePower ConsumptionPanel SizeVideoPC Audio19 inch (diagonal)1DC 12V 4.16A50W1250 cd/m2121000:1144
100mm100mmINSTRUCTION FOR WALL MOUNTVESA Dimensions for Wall MountThe wall mount kit (not included) with your purchase allows you to mount your VIORE
VIORE, Inc. 7801 Hayvenhurst Avenue, Van Nuys, California 91406 Printed in China
2CautionCaution7KHOLJKWHQLQJÀDVKZLWKDUURZKHDGV\PEROZLWKLQDQHTXLODWHUDOWULDQJOHLVLQWHQGHGWRDOHUWWKHXVHUWRWKHSUHVHQFHRIXQLQVXODWHG
3Safety InformationSafety Information7RHQVXUHUHOLDEOHDQGVDIHRSHUDWLRQRIWKLVHTXLSPHQWSOHDVHUHDGFDUHIXOO\DOOWKHLQVWUXFWLRQVLQWKLVXVHU
4Unit and Accessories and Product FeatureUnit and AccessoriesTV setUser's manualRemote controlBatteries: 2xAAAProduct FeatureMains adaptor Mains
5IntroductionIntroduction1. Front View1). (IR) Infrared Receiver: Receives IR signals from the remote control. (Power on/Standby)LED Indicator: Pre
6Introduction2. Rear View1).POWER: Connect to the mains adaptor.2).Service : For software update only.3).HDMI1/2: Connect it to the HDMI of DVD or oth
7Introduction3. Remote ControlThe remote control is using Infra-Red(IR). Point it towards the front of the LCD TV. The remotecontrol may not work corr
Produits connexes et manuels pour Télévisions Viore LED19VH65D
 (18 pages)
© 2020, manymanuals.fr. Tous droits réservés | 0.491 s |
 Manymanuals.com
 Manymanuals.de
 Manymanuals.fr
 Manymanuals.it
 Manymanuals.pl
 Manymanuals.cz
 Manymanuals.es
 Manymanuals-pt.com
Commentaires sur ces manuels